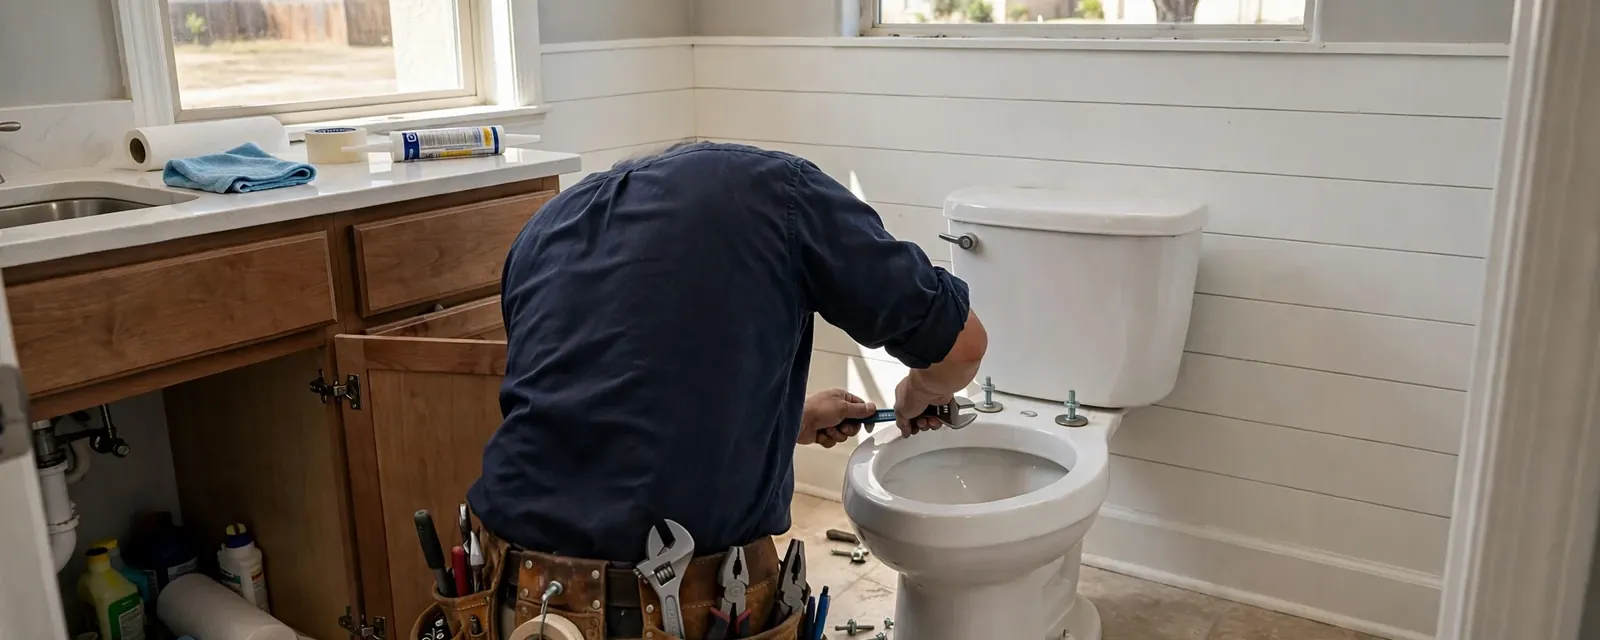
To install toilet tank bolts, shut off the water, drain the tank, lift the tank off the bowl, swap in new bolts with rubber washers inside the tank, and tighten the nuts a little at a time. In an Eden Prairie, MN bathroom this is a job for one person and a screwdriver, if the porcelain is sound. The one real danger is overtightening, which can crack the tank.
Gather the tools and parts first
You need a flat screwdriver, an adjustable wrench or a small socket set, a sponge, a bucket and a towel. A putty knife helps if the tank sticks to the bowl. Buy a tank-to-bowl bolt kit, which includes two bolts, two rubber washers, two metal washers and two nuts. Brass or stainless bolts resist rust better than plain steel.
Also pick up a new foam or rubber tank-to-bowl gasket, sometimes called a spud washer, because you will be breaking that seal. Having it on hand saves a second trip to the store with a wet bathroom.
Step by step: remove and replace the bolts
Work in a clear space with the lid set aside on a towel.
- Shut off the supply Close the small valve on the wall behind the toilet by turning it clockwise.
- Flush and drain Flush once and hold the handle down, then sponge out the last water from the tank bottom.
- Disconnect the supply line Loosen the nut under the tank by hand or with a wrench, and catch drips in a bucket.
- Remove the old nuts Unscrew the nuts under the bowl rim while holding the bolt heads steady inside the tank.
- Lift off the tank Raise it straight up with a friend if it is heavy, and set it on a towel.
- Fit the new gasket Slide the spud washer over the tank outlet so the beveled edge faces down into the bowl.
- Insert the bolts Place a rubber washer under each bolt head inside the tank, then pass the bolts through the tank holes.
- Reseat the tank Lower it onto the bowl so the bolts drop through the bowl holes.
- Tighten evenly Turn each nut a few turns, alternate sides, and stop when the tank feels snug and level.
Metal washers go under the nuts beneath the bowl rim, and the rubber washer goes inside the tank where water sits. Getting that order backward is the most common error.
Do not overtighten the porcelain
Porcelain does not flex. If you crank one nut down while the other is loose, the tank rocks and the stress finds a weak spot near the bolt hole, then a hairline crack opens. Alternate sides, a half turn at a time, and stop when the rubber washers have just compressed.
The tank should not wobble when you push on a corner, and it should sit level front to back. If it does not sit level, loosen both nuts and look for a gasket that is pinched or sitting crooked.
Which leak is it: bolts, base or supply
Water on the bathroom floor can come from three places that look alike. Dry the whole toilet and the floor with a towel, then dry the supply line and the valve. Wrap a dry strip of toilet paper around each suspect spot and flush a few times.
| Where the paper gets wet | Likely cause | Usual fix |
|---|---|---|
| Around a bolt head under the tank | Worn rubber washer or loose nut | Replace the washer and re-snug evenly |
| Where the tank meets the bowl | Failed spud gasket | Replace the tank-to-bowl gasket |
| At the floor around the base | Wax ring failure or loose flange | Reset the toilet with a new wax ring |
| At the supply line or shutoff | Loose or cracked fitting | Tighten or replace the line |
A leak at the base is a different repair. It means the wax seal under the bowl has failed or the closet bolts are loose, and the toilet has to come off the floor. If you see staining on the ceiling below or a soft floor, stop and call for toilet repair before the subfloor rots.
Rather have a plumber look at it?
Our 24/7 line is open now, and same-day appointments are available when a slot is open.
Check the flapper and the fill valve while you are in there
With the tank off or the lid open, take a few minutes on the parts that cause most running toilets. The flapper is the rubber seal at the bottom of the tank. If it is warped, cracked or covered in mineral film, it lets water creep into the bowl, and the fill valve refills the tank every few minutes. A deteriorated flapper is a common cause, according to the City.
Check the chain for slack. A chain that is too short holds the flapper open, and one that is too long can tangle underneath it. Make sure the water level sits about an inch below the top of the overflow tube. If it floods into the tube, lower the fill valve float.
The dye test for a silent leak
Not every leak shows on the floor. A toilet can leak from the tank into the bowl without a sound. Drop a few dye tablets or a little food coloring into the tank, then wait without flushing. If color shows in the bowl, water is slipping past the flapper.
Do this at bedtime before you replace the bolts, and look again in the morning. If the bowl is clear, your tank bolts and gasket are the likely culprit instead. When a dye test and the flapper swap do not settle it, our crew handles plumbing installation and repair work such as new fill valves and shutoffs.
When to stop and call a plumber
Call if the tank is cracked, if the toilet rocks, if the supply line or shutoff valve is corroded and will not turn, or if the leak is at the floor. Call too if you had to force a nut and heard a crack. A crack in the porcelain cannot be fixed with sealant, and the tank or bowl needs replacing.
We also serve Hopkins and Bloomington homes on the same 24/7 line, so a toilet that floods at midnight can be handled quickly. Shut off the valve behind the toilet, then call (952) 866-9120 and describe where the water is coming from.
Eden Prairie local note: using the City leak guidance
The City of Eden Prairie says a deteriorated flapper is a common cause of toilet leaks, and recommends putting dye tablets or food coloring in the tank to check. That is the same test above, and it tells you whether to buy a flapper or bolts.
The City's utility FAQ also says rebates may be available for repairing irrigation, faucet or toilet leaks through its Water Conservation Rebate Programs page. Terms change, so check that page for current details before you buy parts or hire a plumber, and keep your receipts.
After the repair: a quick test
Open the shutoff valve slowly and let the tank fill. Check the tank bolts, the supply connection and the base for drips. Flush three times, watching the underside of the tank, and dry any beads with a towel.
Leave a dry paper towel under the tank overnight. If it is damp in the morning, tighten the nuts a quarter turn, one side at a time, and test again. If it still weeps, replace the washers.
Eden Prairie homeowner questions
Snug and even, not hard. Tighten each nut a little at a time until the tank is level and does not rock, then stop.
The rubber washer goes inside the tank, under the bolt head. The metal washer and the nut go on the underside of the bowl rim.
The usual cause is a worn rubber washer or a loose nut. Replace the washers and snug the nuts evenly.
You can if they are not rusted, but a new kit costs little and the rubber washers are worth replacing anyway.
The City says rebates may be available for repairing toilet, faucet or irrigation leaks through its Water Conservation Rebate Programs page. Check that page for current terms before you buy parts.
Condensation forms on the whole outside of a cold tank, while a leak drips from one spot. Dry the tank and watch where beads reappear.